
In engineering, you will often end up with large amounts of data that are not in a database, such as log files or extracted data files in S3. AWS Athena is a great tool that allows you to query this data without loading it into a database. This post will walk through the basics of setting up Athena and querying data in S3.
Costs Note: Although I try to keep most tutorials within the AWS free tier, following this article can incur some costs. While writing this tutorial, I set up the crawler and tables multiple times, and it cost roughly $0.50 USD. It can cost more if you use a lot of data, so I recommend experimenting with a small CSV for this tutorial (I also provide one below).
What Is AWS Athena?
AWS Athena is a serverless query engine that allows you to query data in S3 using SQL. Athena can query unstructured, semi-structured, and structured data, including CSV, JSON, and Parquet files. It is an excellent tool for ad-hoc querying data not in a database. It is also a great tool for data exploration and analysis.
AWS Athena charges per data scanned for each query and doesn’t cost anything to set up. However, this means that if you have a lot of data and are querying it frequently, it can be expensive. Therefore, Athena is best suited for ad-hoc or occasional data querying.
Some of the times I have used Athena include:
- Querying log files in S3 to find errors
- Querying data in S3 to find data quality issues
- Querying intermediate data in S3 that has been extracted from other sources but has not been transformed or loaded into a database yet
- Querying archival data stored in S3
Another use case is when you need to create a proof of concept or prototype quickly and don’t have the time to set up and manage a database yet. You can quickly load data into S3 and query it using Athena.
I recently did this when I wanted to explore how we might architect a new historical data feature. I loaded some of our data into an S3 bucket, set up Athena to query it, and configured our backend to utilize Athena for the queries. Since it was only a small amount of data, it was very cheap to use Athena.
Setting Up Our S3 Bucket
Before we can start using Athena, we will need to set up two S3 buckets to use for the data. To get started, go ahead and log into your AWS account and navigate to the S3 console. Click on the “Create Bucket” button to create a new bucket.
You can name the bucket whatever you want. I named mine “frank-athena-example-bucket”. You can leave the rest of the settings as the default. Click “Create Bucket” to create the bucket.

Once created, we will need to add some data to it. Typically, you would have many files in the S3 bucket, as that is what Athena is well-suited for. But, for this example, I will use a simplified version of the cleaned Census state median age data I created while working on my How Do Congress Members’ Ages Compare to the Nation and the States They Represent? data story. You can download the CSV file here. Once downloaded, upload the CSV file to your S3 bucket.
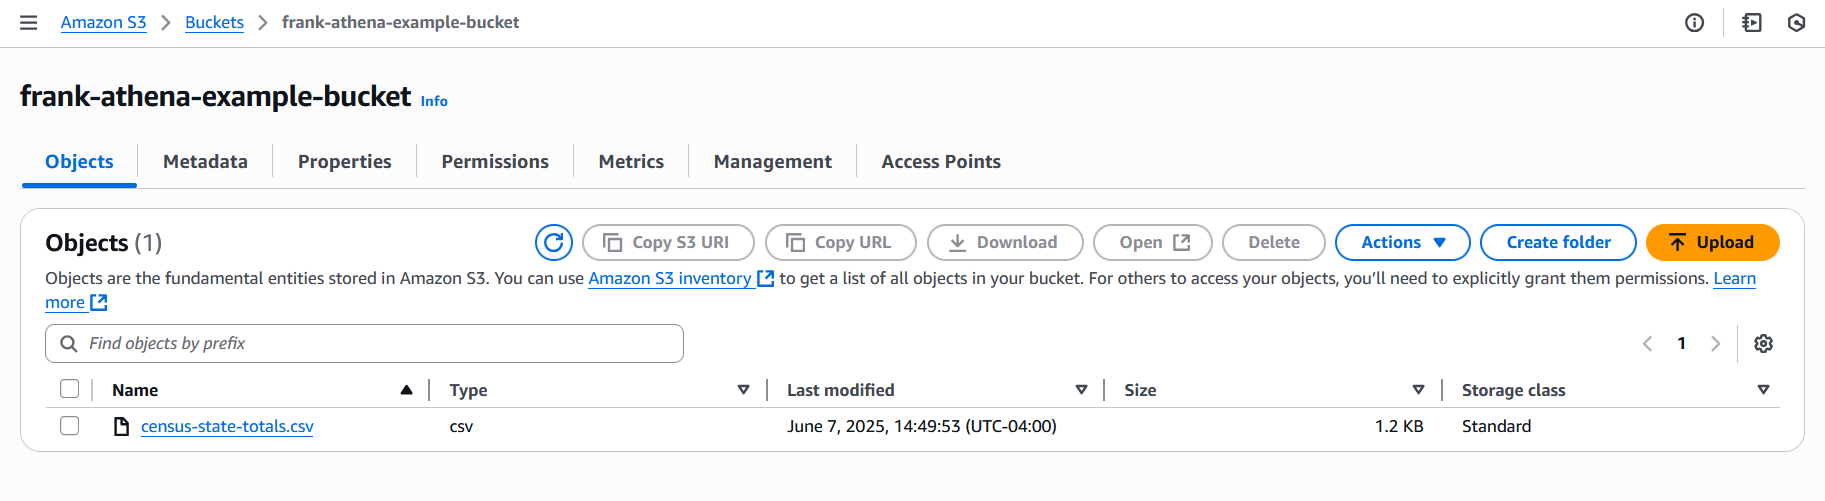
While in S3, we also need to create an S3 bucket for the Athena results, which I’ll explain more about later. I named mine “frank-example-athena-results”. You can leave all bucket settings as the default.
Setting Up AWS Glue Data Catalog
Before we can start using Athena, we need to set up the AWS Glue Data Catalog. The AWS Glue Data Catalog is a metadata repository used by AWS Glue and Athena. It stores information about the data in S3, including the data’s location and schema. Athena uses the AWS Glue Data Catalog to know where the data is located and how to query it.
Creating Glue’s IAM Role
Note: You can skip this section if you have used Glue before and already have a Glue service role created.
AWS Glue has a “Prepare your account for AWS Glue” option on the main page, which can create the role as well as do many other things. To get started, log into AWS and go to AWS Glue.
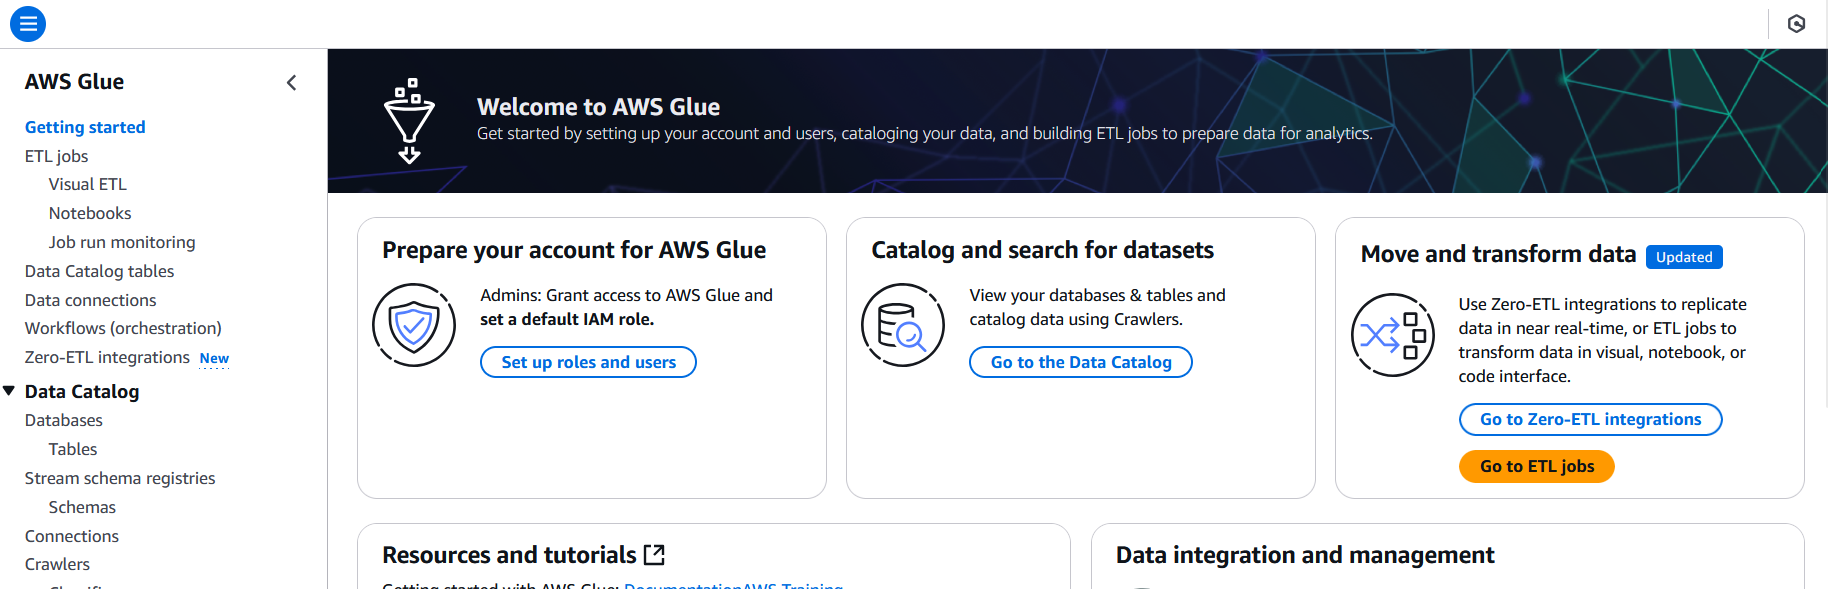
On the main page, click the “Set up roles and users” button.
Since we are not setting up other users to use Glue, we can skip the first two steps without making changes. So, click “Next” until you reach the “Choose a default service role” step.
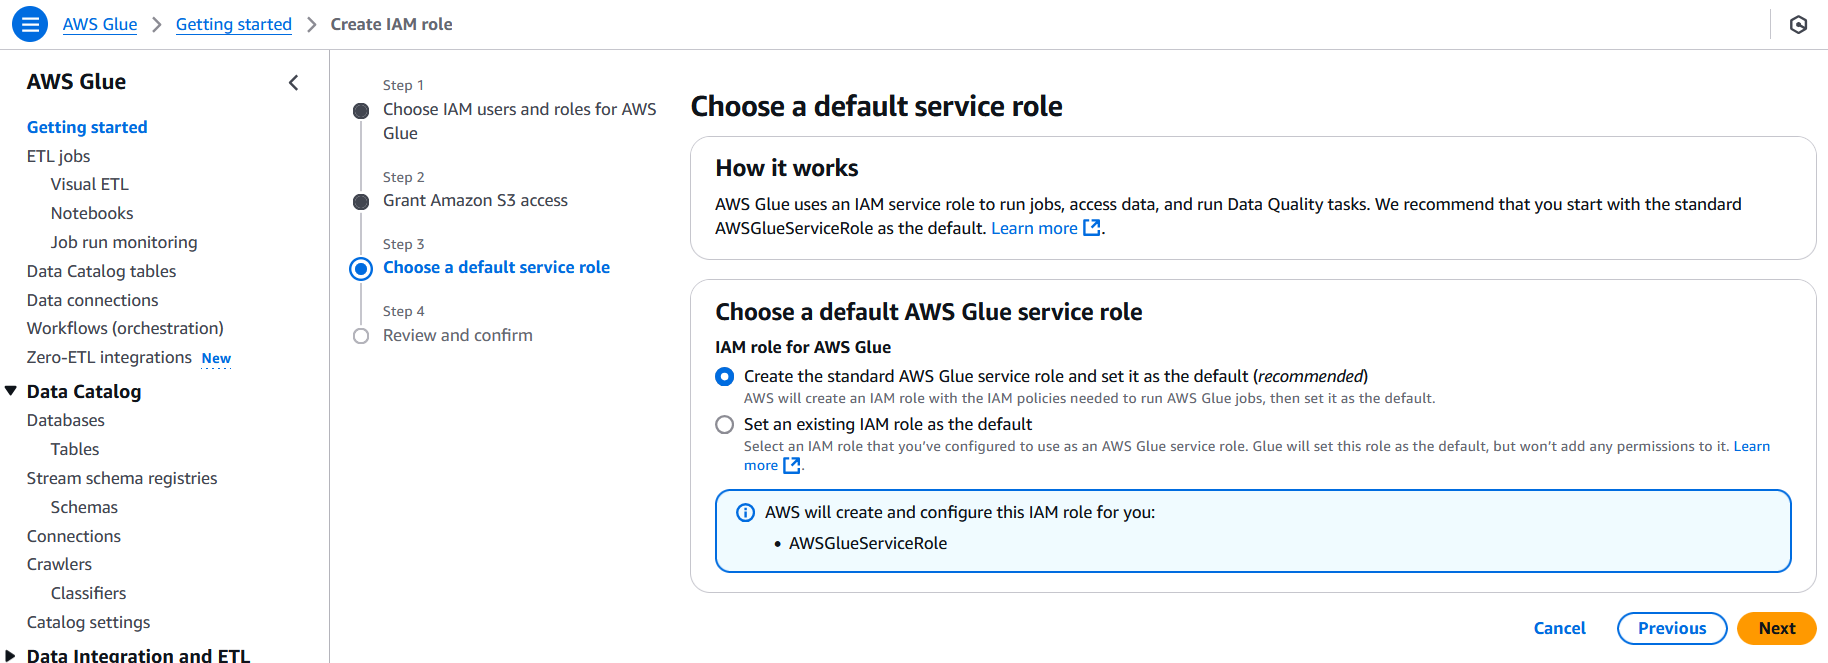
In this step, make sure the “Create the standard AWS Glue service role and set it as the default (recommended)” option is selected. This will create a new IAM role called “AWSGlueServiceRole” and attach permissions for Glue, s3, Cloudwatch, and a few other services to it.
Click “Next” to go to the “Review and confirm” screen and then click “Apply Changes.” After a few moments, you’ll see a success message at the top of the screen.
If you glance at the IAM console, you’ll see a new role called “AWSGlueServiceRole” with the “AmazonS3FullAccess”, “AWSGlueConsoleFullAccess”, and “AWSGlueServiceRole” permissions attached to it. There will also be a new customer-managed policy created and attached to the role. The role is now ready for most simple crawlers and ETL jobs.
Creating the Glue Database
Now that we have the role created, we can create the Glue database. To get started, go to the AWS Glue console and click on the “Databases” link in the “Data Catalog” section on the left side of the screen.
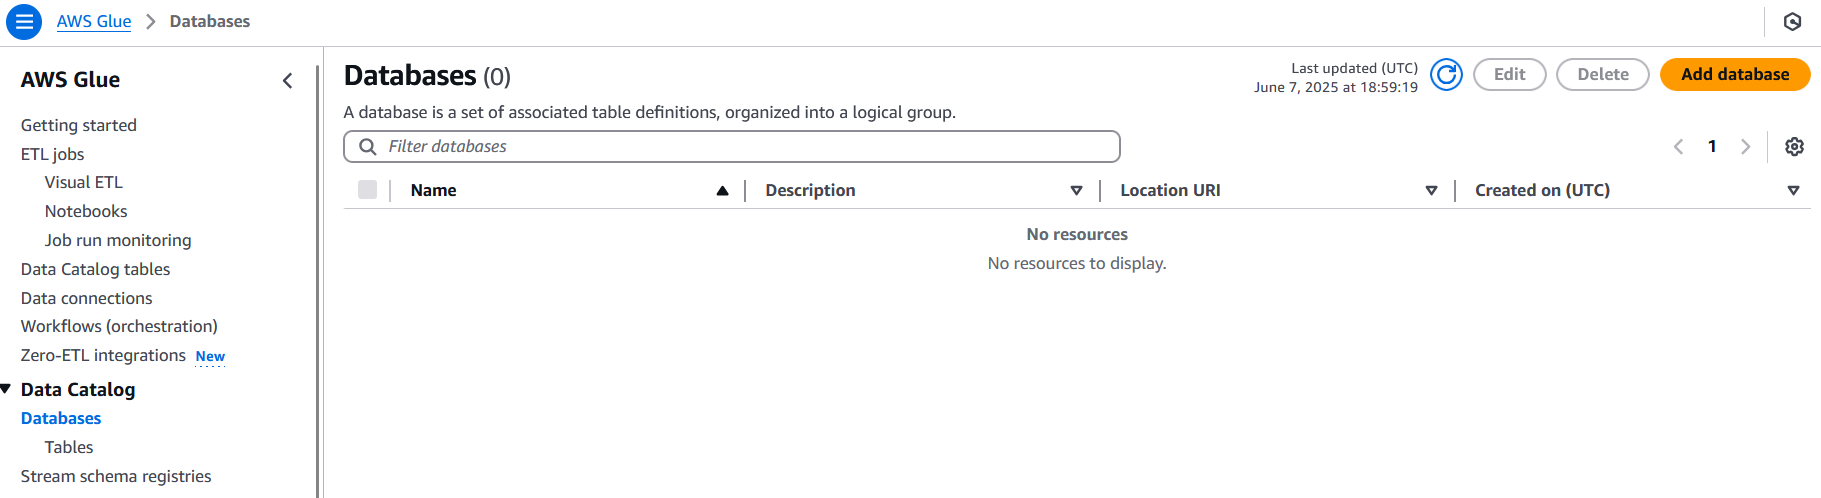
In Glue, databases and tables are used to store metadata about the data in S3. The database is a container for the tables. The tables are used to store the metadata about the data in S3, such as the location of the data and the schema of the data. The tables are not the actual data in S3, but rather the metadata about the data in S3.
On the “Databases” page, click the “Add database” button.
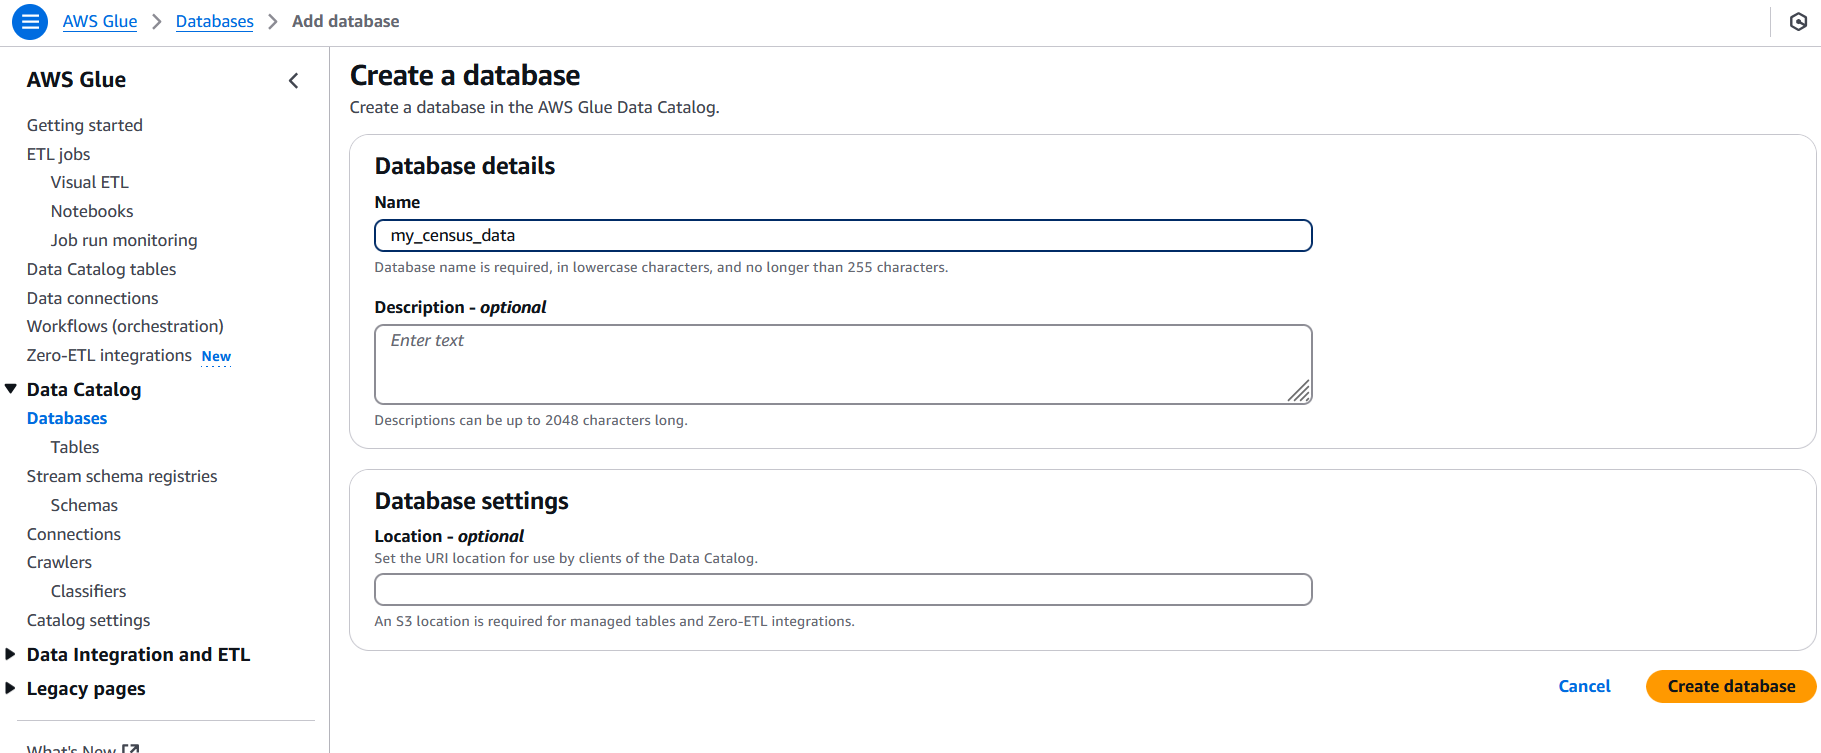
Fill in the database name with something descriptive and then click the “Create database” button. I’ll name mine “my_census_data”.
Creating the Glue Crawler
Next, click on the “Crawlers” link on the left side of the screen. Crawlers are used to connect to your data stores, in this case the S3 bucket, and create our tables in the Data Catalog.
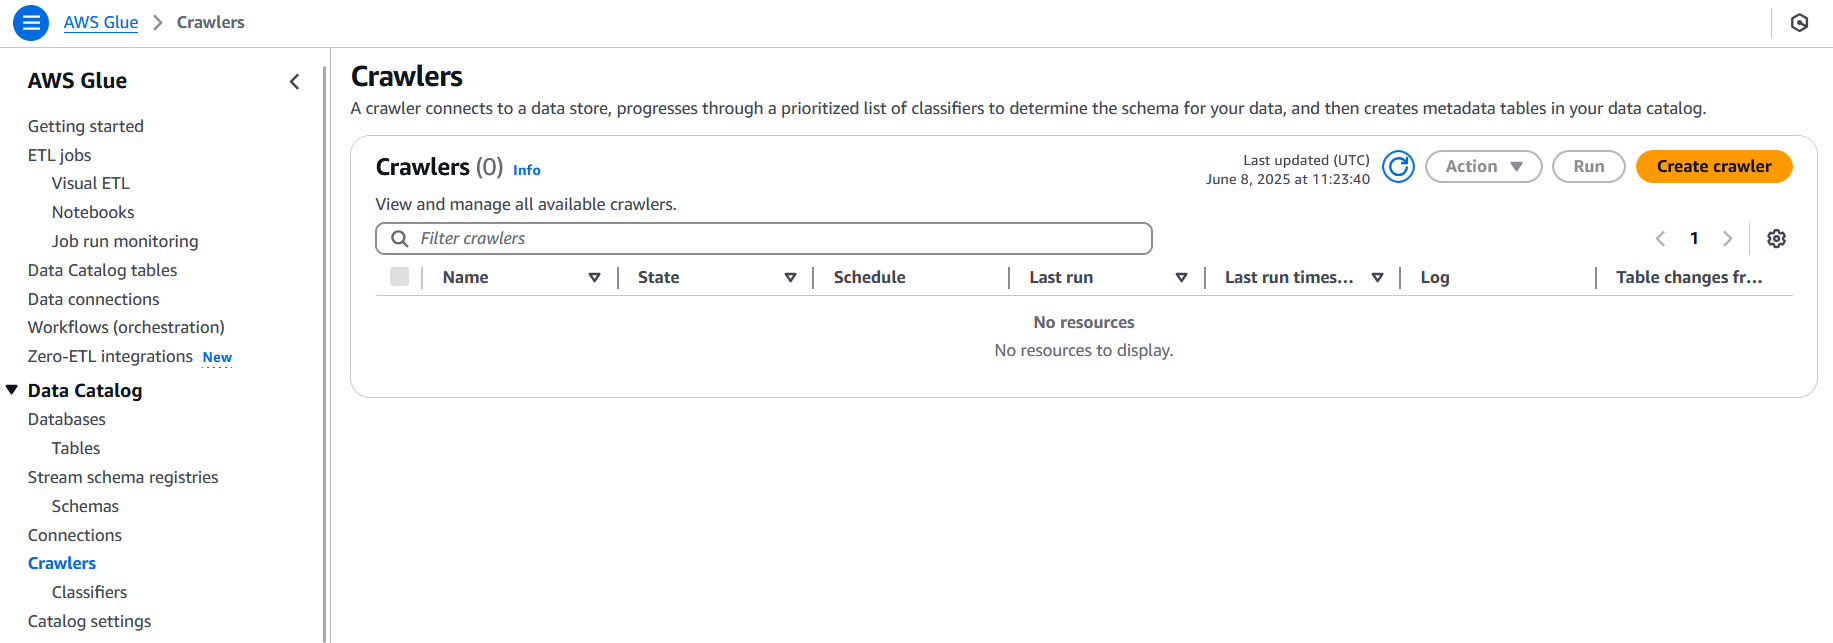
Click the “Create crawler” button to get started.
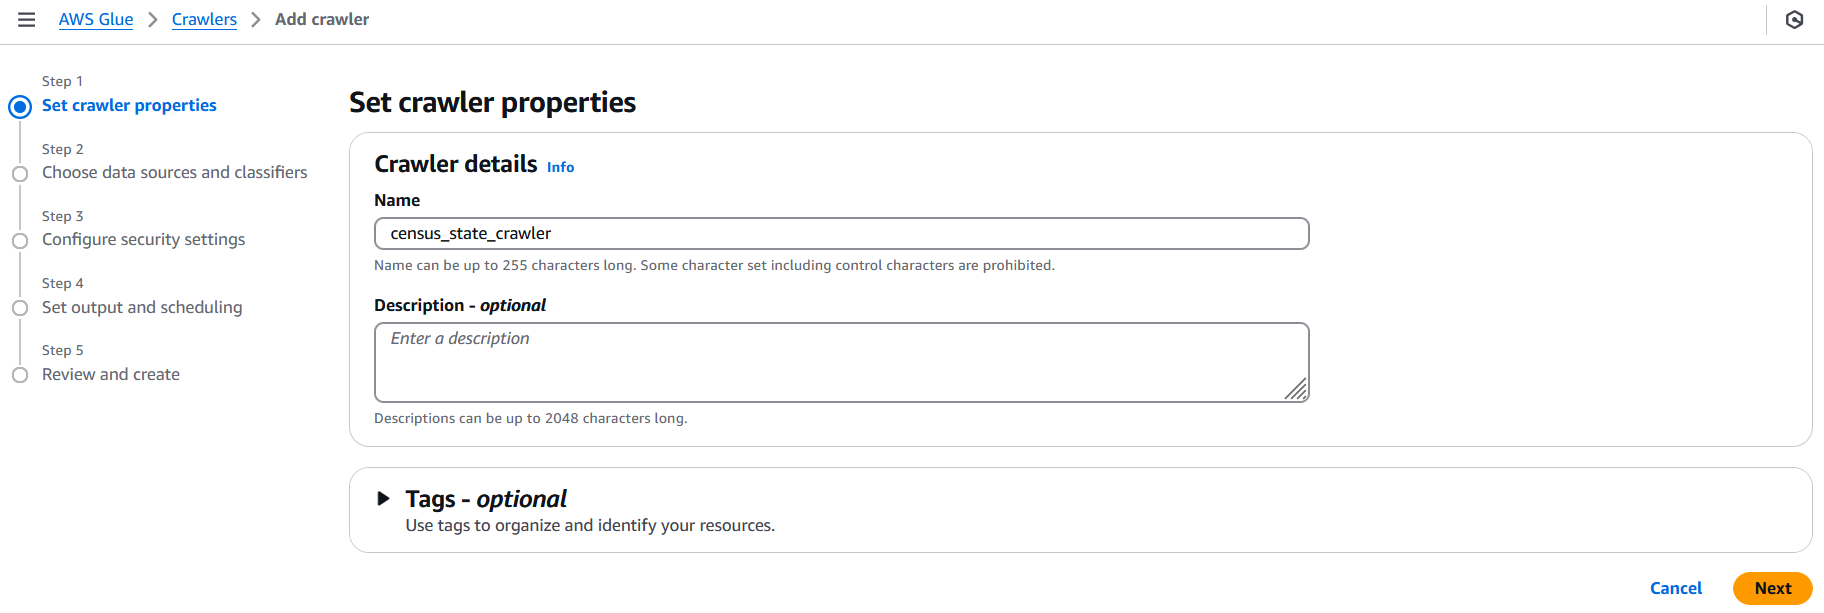
Fill in the crawler name with something descriptive and then click the “Next” button. I try to use a name that represents what is in the bucket to make it easier to find the right crawler later. In this case, I’ll name mine “census_state_crawler”.
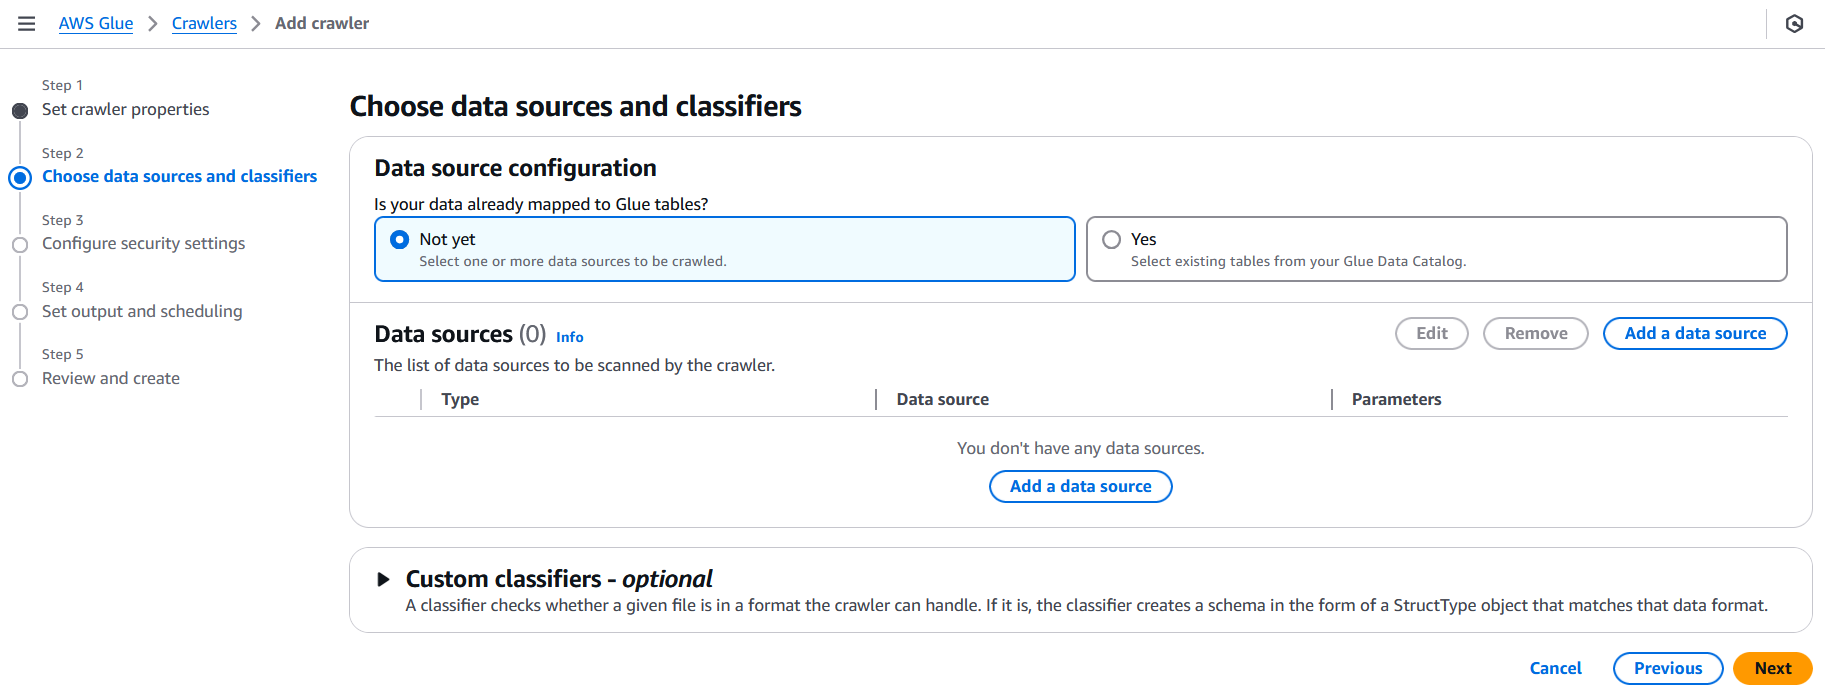
In step two, we need to select the data store. In most cases, you will be creating a new table when you are creating a new crawler, so we can leave the “Is your data already mapped to Glue tables?” option set to “Not yet”. Click the “Add a data source” to open a modal for data source.
Ensure that S3 is selected as the source, and then select your bucket using the “Browse S3” button located under the S3 path option. We will leave all the other options as the default. However, note the “Sample only a subset of files” option. The Glue crawlers charge based on how long they run. So, if you have a large number of files in your dataset, the crawler can cost more. If all the data uses the same schema, you can use this option to scan only a few files, which will reduce costs. Since we only have one file, we can leave this option unchecked.
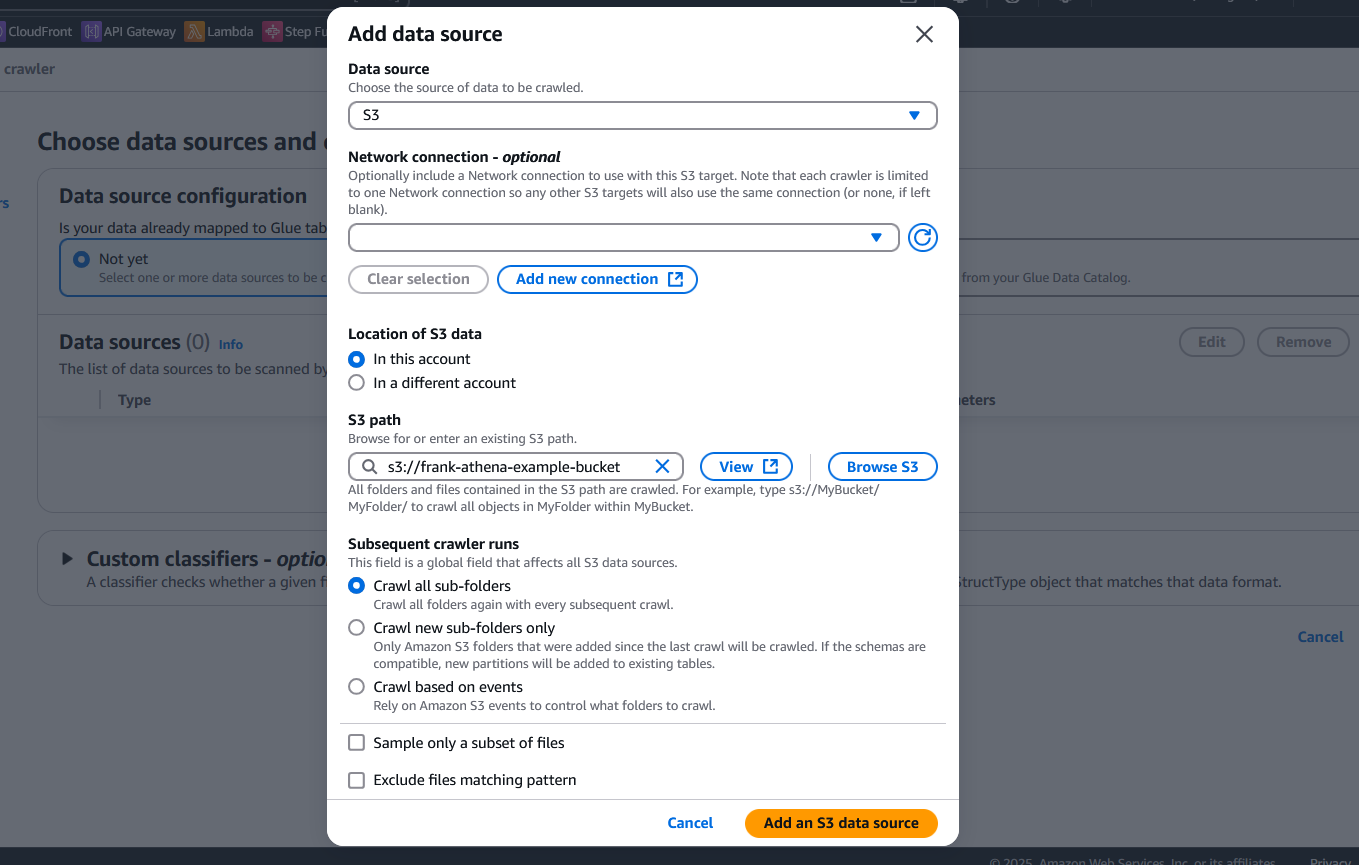
Click the “Add an S3 data source” button to add the data source to the crawler. Then, click “Next” to go to the next step.
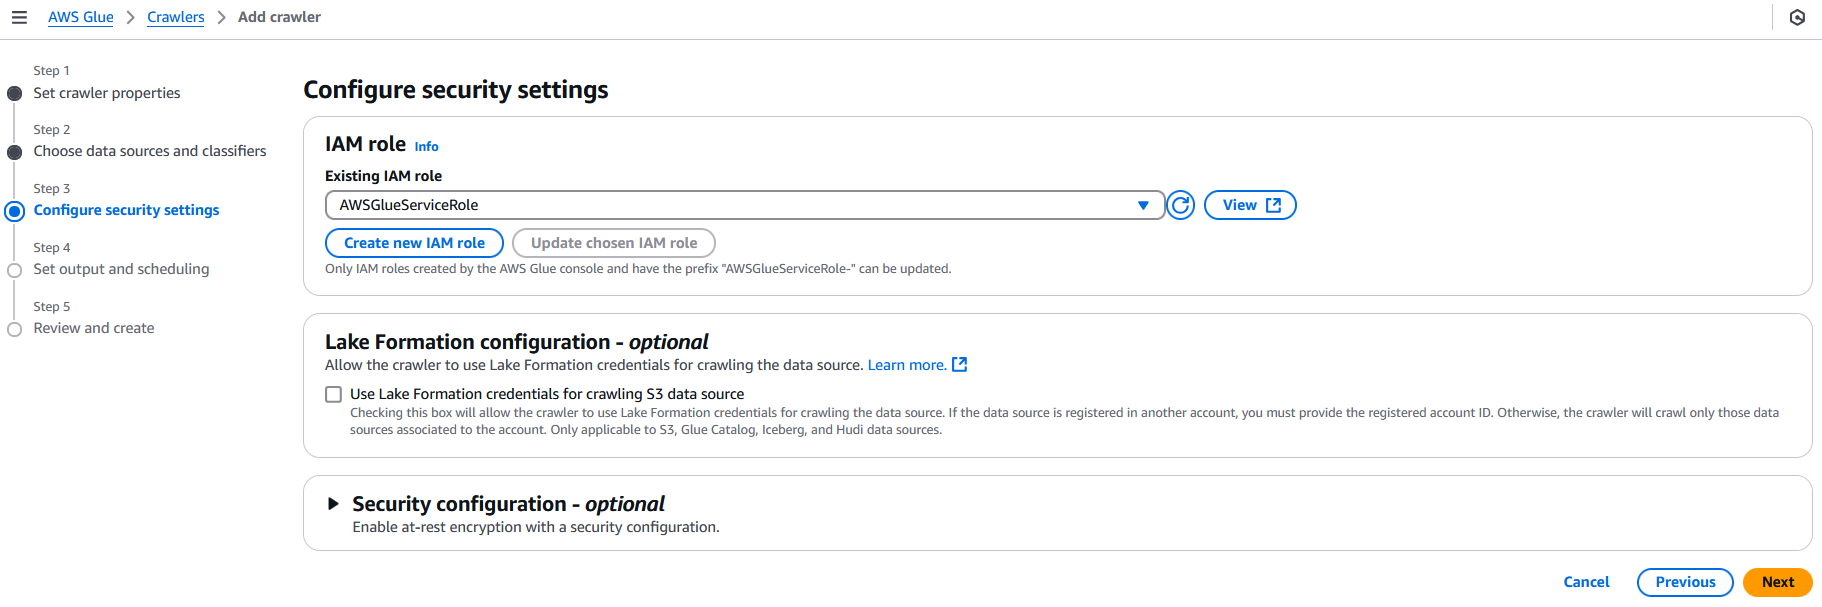
In step 3, we need to select the IAM role that the crawler will use to access the data in S3. Select the “Choose an existing IAM role” option and then select the “AWSGlueServiceRole” role that we created earlier. Then, click “Next” to go to the next step.
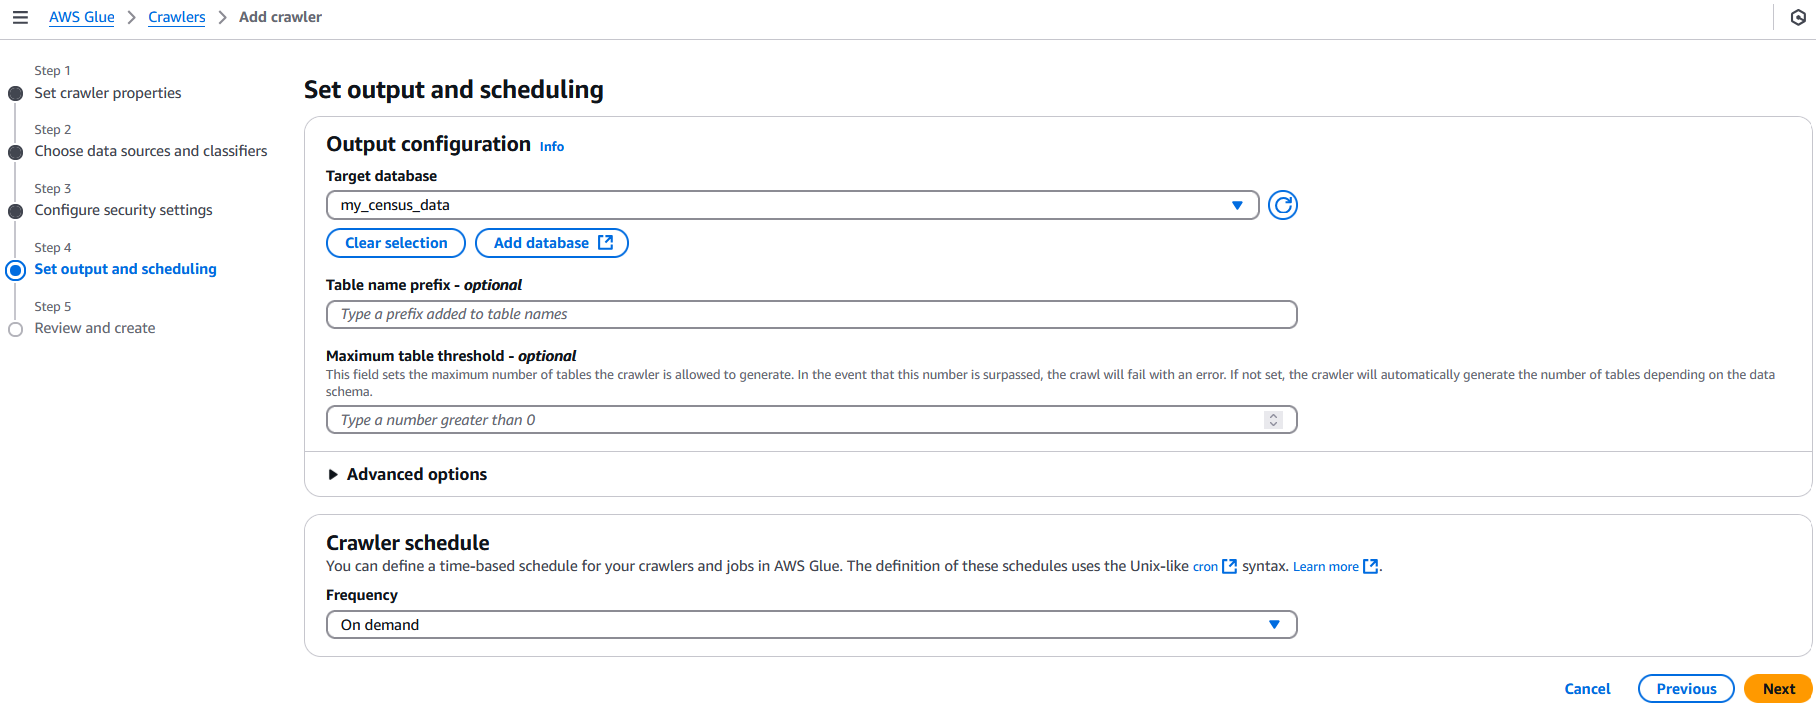
In step 4, we select the database we created earlier. For the crawler schedule, make sure it’s set to “On demand” as we will only want to run this once. We can leave all other options as their defaults. Click “Next” to go to the review step.
Glance through the review sections to make sure everything looks correct. Then, click “Create crawler” to create the crawler. Once created, you’ll be taken to the crawler’s detail page. Click the “Run crawler” button to start a new run for the crawler.
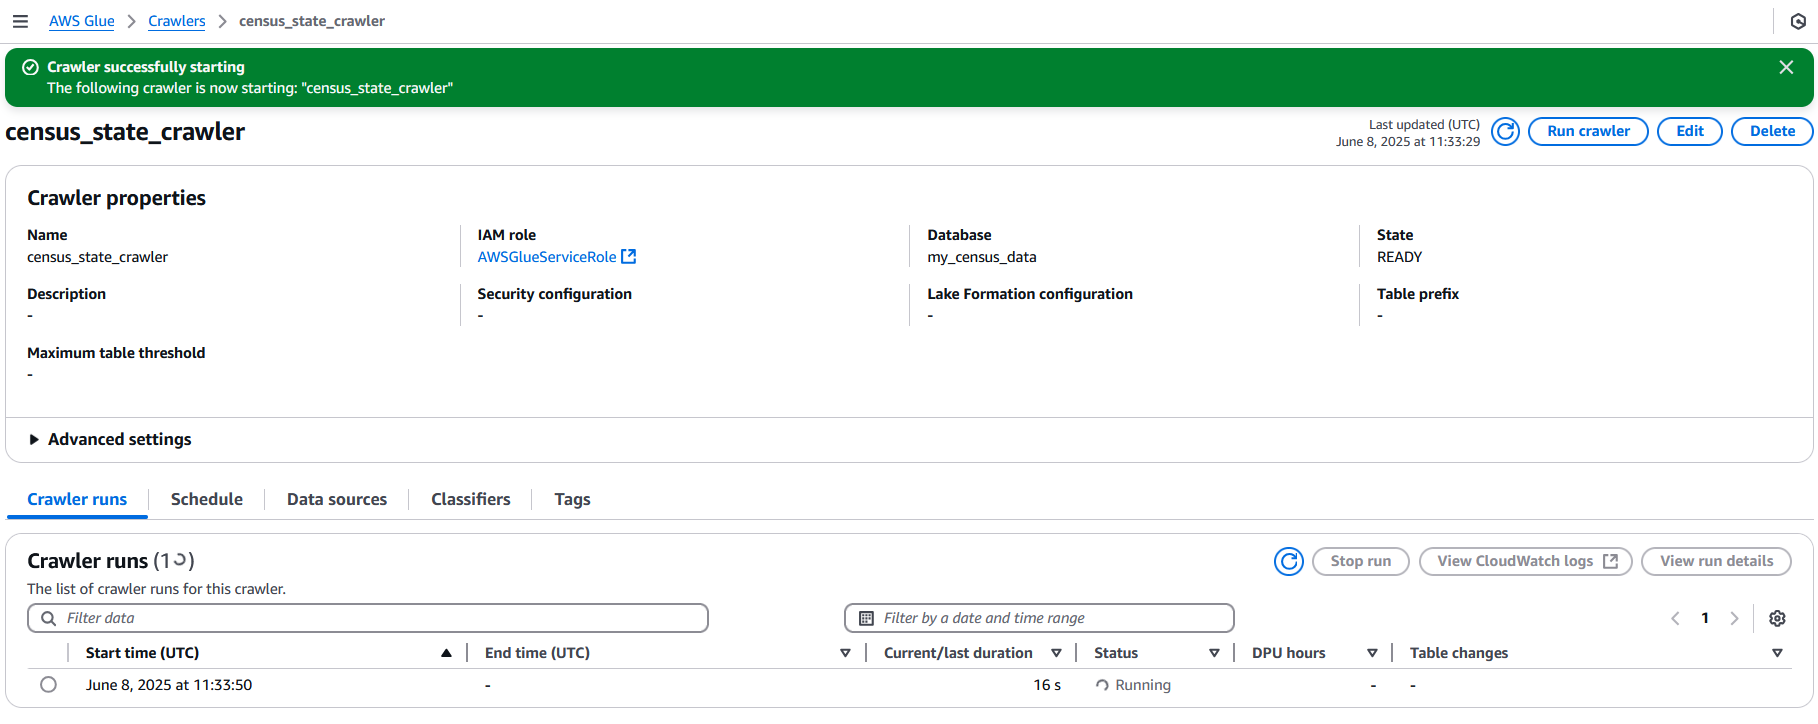
The crawler may take a few minutes to run. Once it is done, the status will change to “Completed”. You can click the crawler run and click the “View run details” button to see what it did.
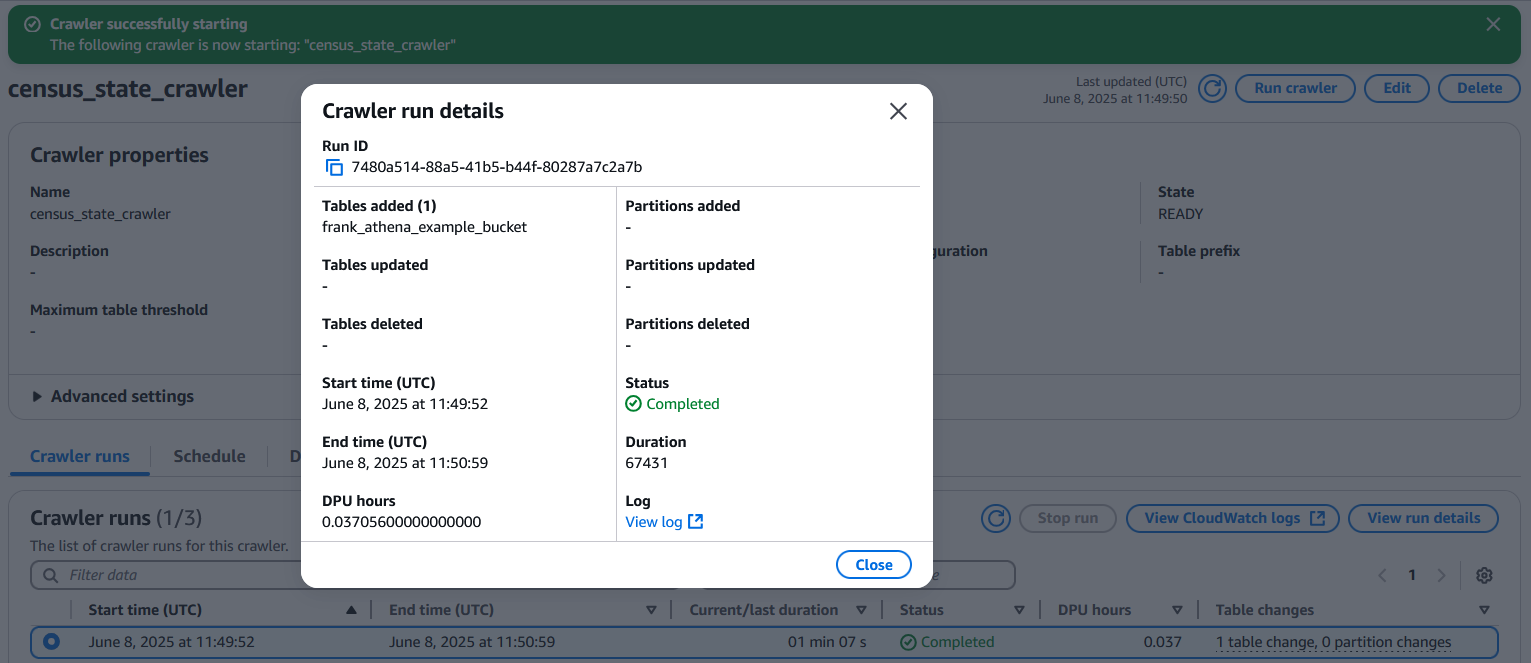
In this case, it has added a new Data Catalog table with the same name as the S3 bucket.
Note: If your crawler does not add any tables, the Glue role may not have been set up with S3 access. You can go to IAM and either add the AmazonS3FullAccess permission to the Glue role or add the specific bucket to the Glue policy.
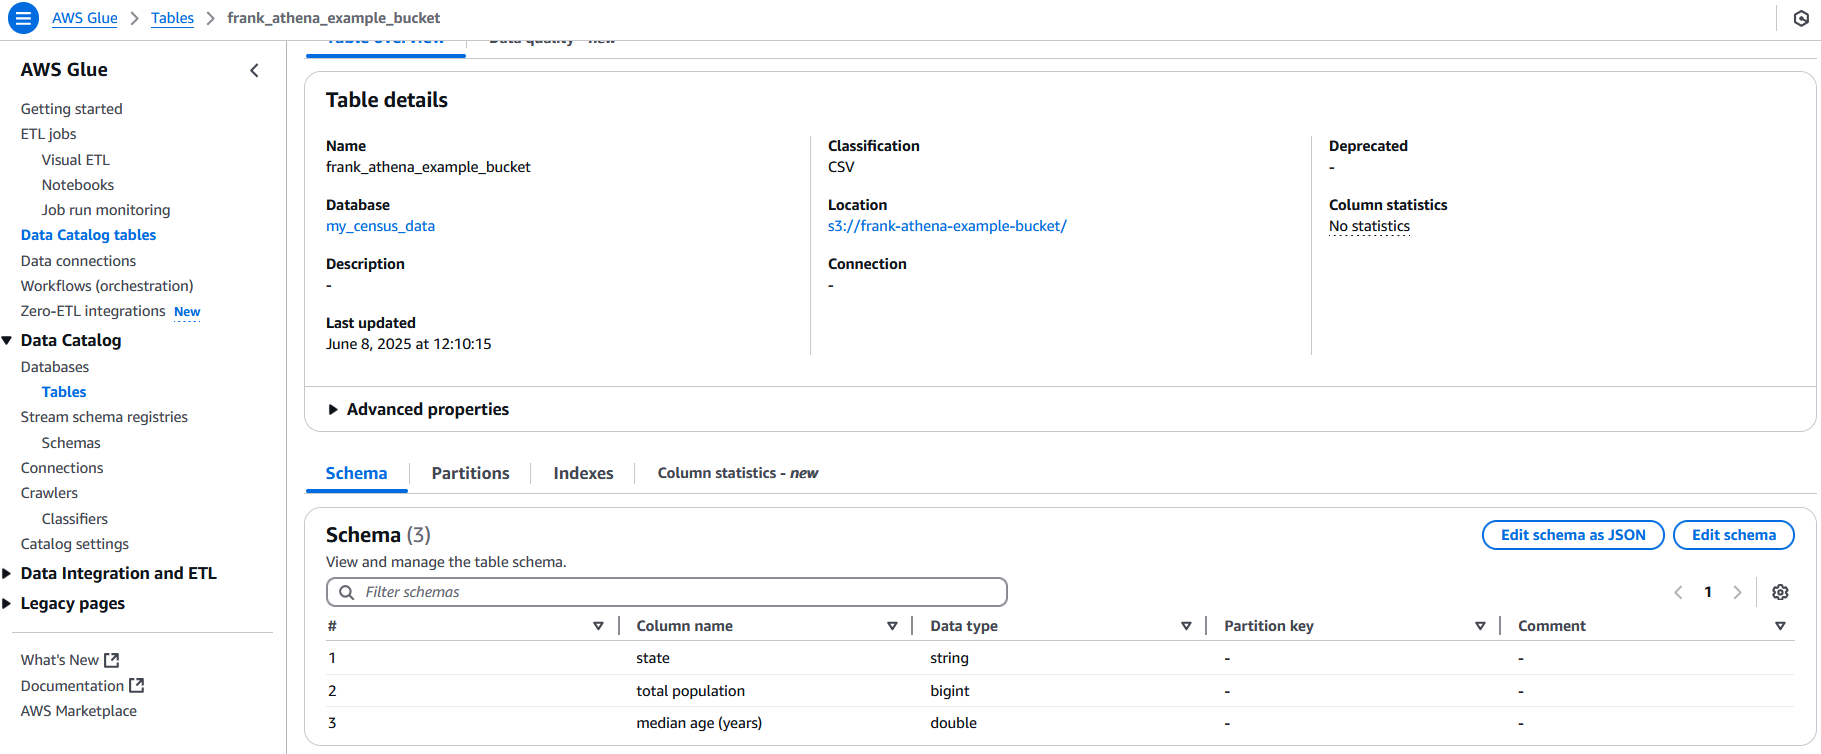
We can go to Data Catalog -> Database -> Tables to view our table and if we can click on it, we can see the table details including the columns. If you need to adjust the inferred data type, such as changing string to int, you could do that here.
Note: If you are using CSVs in the S3 bucket and the first column’s name is blank, the crawler may generate all of the column names as col1, col2, col3, etc… instead of the column names in the heading.
Setting Up Athena
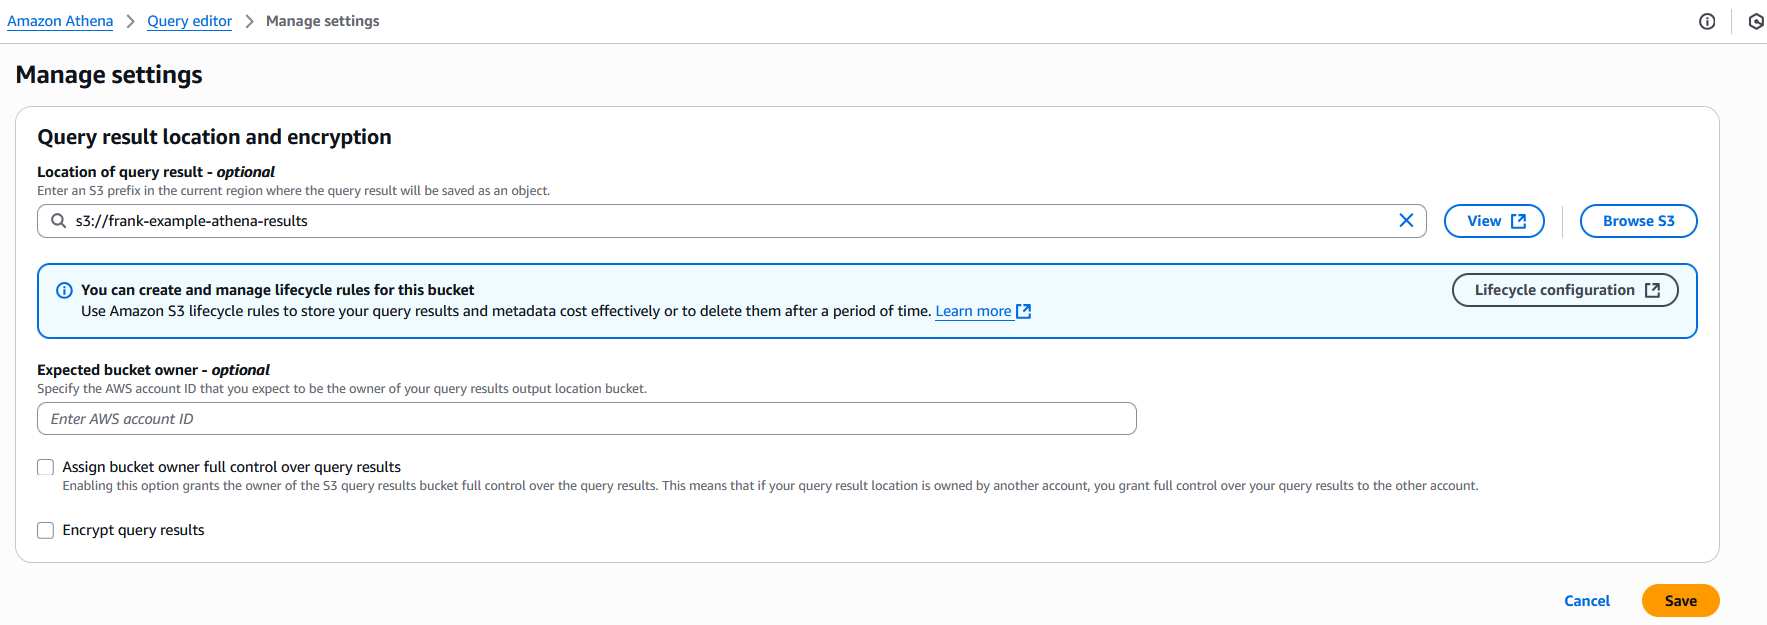
Now that we have Glue set up, it’s time to set up Athena. Navigate to the Athena console and go to the “Query editor” page. Before we can start exploring the editor, we need to set up where to store the results.
While using the query editor in the console will make it feel like a regular query working with normal databases, that isn’t exactly how Athena works. In Athena, queries cannot be synchronous, unlike those in regular databases, as Athena must scan the files from the data source.
So, the query runs asynchronously, the results are stored in a different S3 bucket, and then they are shown to you in the query editor. This allows you to run the query and then come back later to see the results. This is important to note in the event you are using Athena from a script or application, as you will need to handle the asynchronous nature of the query.
Click the “Settings” tab along the top of the screen, then click the “Manage” button. For the “Location of query result” option, click the “Browse” button and locate the 2nd S3 bucket we created earlier. Then, click the “Save” button to save the changes.
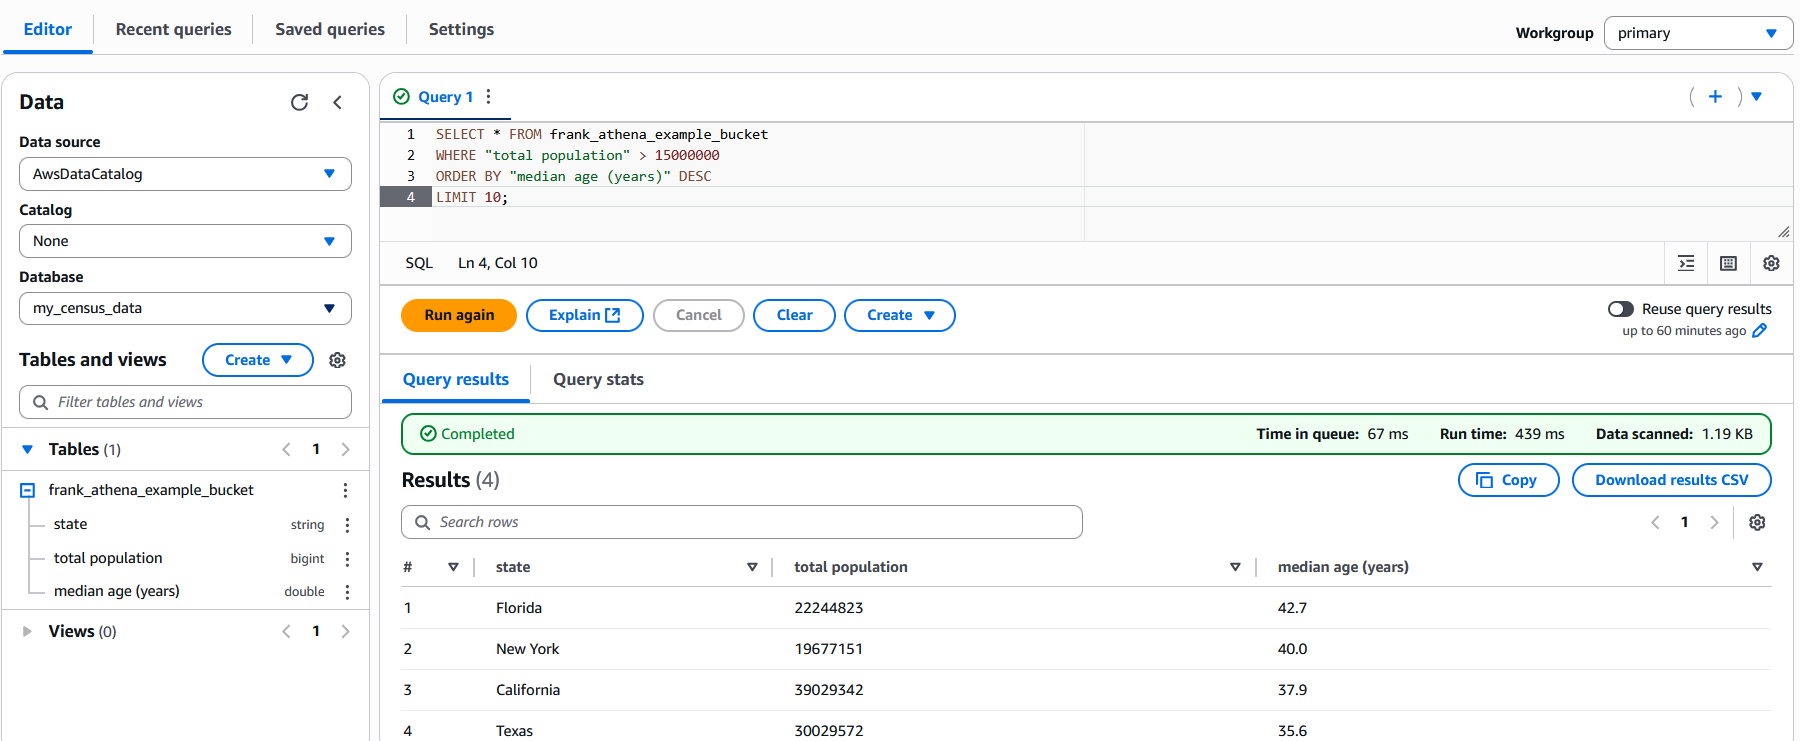
Now, switch back to the “Editor” tab. Make sure “AWSDataCatalog” is selected for the “Data source” option. Then, click the “Database” dropdown and select the database we created earlier. You should see the table the crawler created in the “Tables” dropdown. If you do not, click the “Refresh resources” button (the circular arrow icon above the data source option) to refresh the options. Now, we are ready to make some queries!
To test it out, let’s use this SQL query to retrieve states that have a total population over 15 million and order the results by the median age. You will need to change the table name to match your table name.
SELECT * FROM frank_athena_example_bucket
WHERE "total population" > 15000000
ORDER BY "median age (years)" DESC
LIMIT 10;
You now have everything set up and can query data in S3 using Athena. While our example used only one CSV file, Athena’s power truly shines when you have dozens, hundreds, or thousands of files. Being able to query across all log files or all generated CSV files can be very powerful.
Before you wrap up, if you want to undo everything you did in the tutorial, you will want to delete:
- The S3 bucket with the data
- The S3 bucket with the query results
- The Glue database
- The Glue crawler
- The Athena query settings “Location of query result” option
- The Glue service role in IAM
- The Glue customer-managed policy in IAM
Next Steps
Now that you have Athena set up, you can start querying data in S3. If you want to learn more about Athena, I recommend checking out the AWS Athena documentation. If you want to learn more about AWS Glue, I recommend checking out the AWS Glue documentation.